Ready to have a purpose for your produce cuts rather than waste them? Sick of buying soil at the store when you could make your own organic compost soil? Here to help — Vermicomposting .
Variations must be considered for your homemade compost bin, depending on your climate and the type of setup or size you choose to construct. For this setup, I’ll be demonstrating a compost bin using an aluminum toolbox (meant for a truck bed) that has been customized to include air holes and a bottom hole to allow for liquid to drain.
Step 1:
After successfully covering the side air panels with fine mush covers to keep out bugs (especially roaches in Florida), line the bottom of the toolbox with a few layered sheets of newspaper, and a few handfuls of hay sprinkled in. This will provide a good base to keep your compost soil in but allow excess moisture to drain out. As an additional key component to our soil base here, we are utilizing used coffee grounds inside of non-bleached coffee filters (because you *do not want* chemicals in your otherwise “organic” mixture; coffee filters become white from recycled paper via a toxic bleaching process). Rip apart each coffee filter into shreds that are about 1-inch apart. This will make the composting process easier for breakdown.
 Step 2:
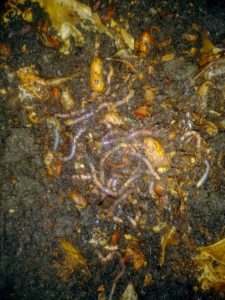
Get your red wigglers! These worms (found at a bait shop and sometimes online, typically around $20/pound) are often considered the best worm for composting because they don’t burrow, but rather help organic odds and ends break down into quality topsoil for gardening needs (this is a generalization; some plants do great with coffee-compost, and some do not, so please look into your specific plants and research with due diligence what works best for them). You’ll only need as many as the amount of compost you know you go through in a week; for more specifications if you don’t want to eyeball your chosen compost bin, read more information on size appropriations HERE.
 Step 3:
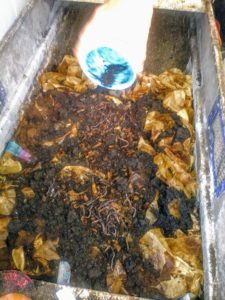
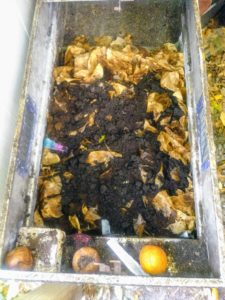
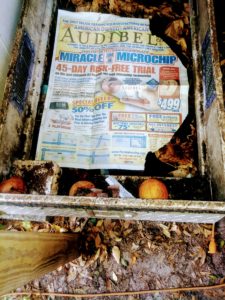
Once you’ve amply scattered your little recycling buddies into their new home, take a last 1 or 2 sheets of newspaper and lightly cover them. Using either a small bowl or spray bottle, lightly dampen the newspaper to soften for the worms to begin eating and breaking down. Keep under a shaded area whether a dense tree, lean-to off of a shed, or on a covered patio. Especially during the warmer months, you don’t want your worms to dry out and shrivel.
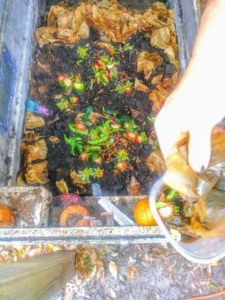
When you get lighter produce scraps (basically anything that’s not callous and thick like an orange peel or banana peel) like strawberry tops and the skin off a cucumber, carrot tops… those types of produce bits are great food for your compost worms to enjoy. Simply toss them in under the newspaper, and re-tuck your worms in.
Possible update and check back to let you know how things progress with the worms, whether in regard to them eating the compost and how much I use in a standard vegan week, or seeing how they reproduce naturally in the environment they’ve been given so I know whether they’ll continue to thrive, or if I have to spend money to buy new ones if these perish (they shouldn’t, unless fire ants come in and eat them, in which case take precaution to leave ant bait around base unless you’d rather “leave it to nature” and risk your worms being invaded. Completely up to the composter’s discretion). As a last note, you may find it helpful to have a dedicated tupperware for both the coffee grounds + filter, and another for your odds and ends to allow all materials to dry out before tossing into your bin for easier snacking by the worms.
Happy recycling!
Leave a Reply